Overview
Listconn is a real estate analysis application with 4 primary modules. By default, a project will open in “deal analysis” mode. Enabling an investor to run a quick calculation without importing property data, photos or preparing a budget. To access the other 3 modules, click the button on the left as specified in the diagram below. We will discuss these modules later in the tutorial.
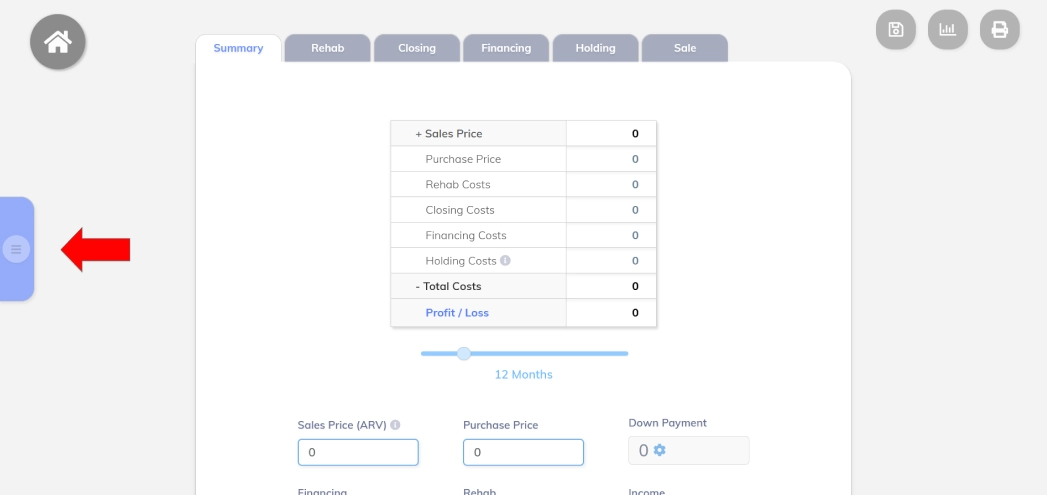
By Clicking the menu button. You can access the Overview, Project and Photos tab, which will be discussed in later in the tutorial.
Running Deal Setup
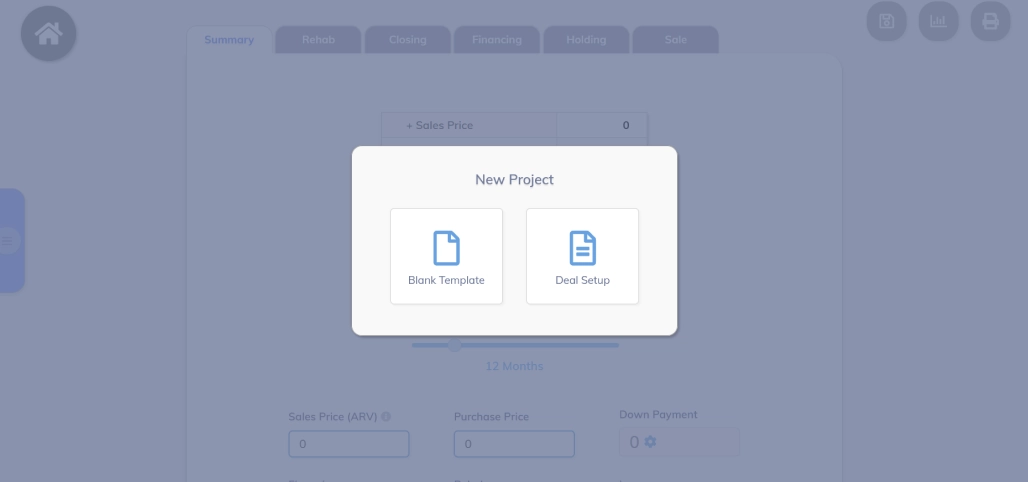
When you first open a project, you will be presented to with the option to run “Deal Setup.” Running deal setup is optional but recommended. By running deal setup, you can import a budget template, import address information and set up financing terms. For a more in-depth tutorial on “Deal Setup,” click here.
Step 1 - Entering the Main Variables
After running deal setup, the first step is to use the slider bar to select your project completion time, which is how many months you anticipate that it will take to repair, list for sale and sell the property. Also, known as the holding period.
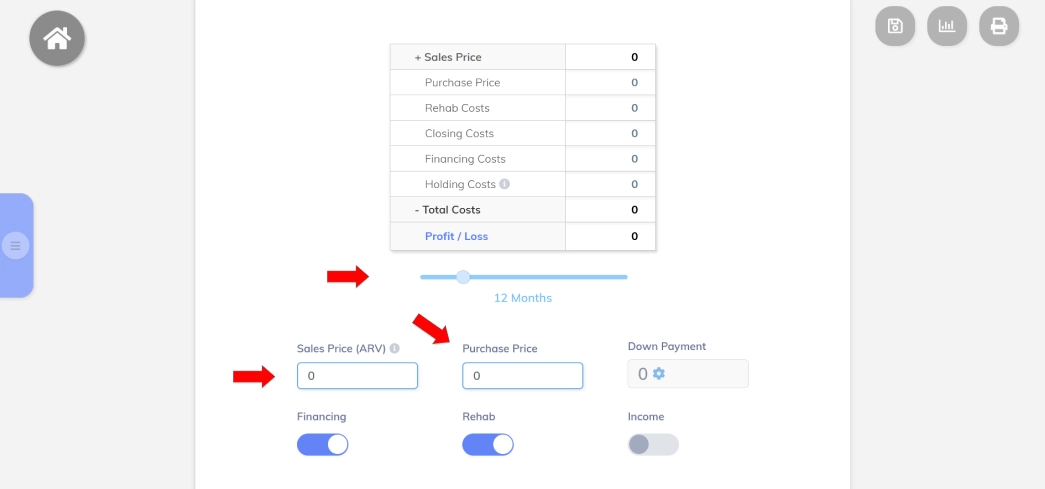
Next enter the After Repair Value and purchase price. The After Repair Value is denoted as the “Sales Price (ARV). This is the price you anticipate the property to sell for once all repairs are complete.
Step 2 – Setting up the Deal Structure
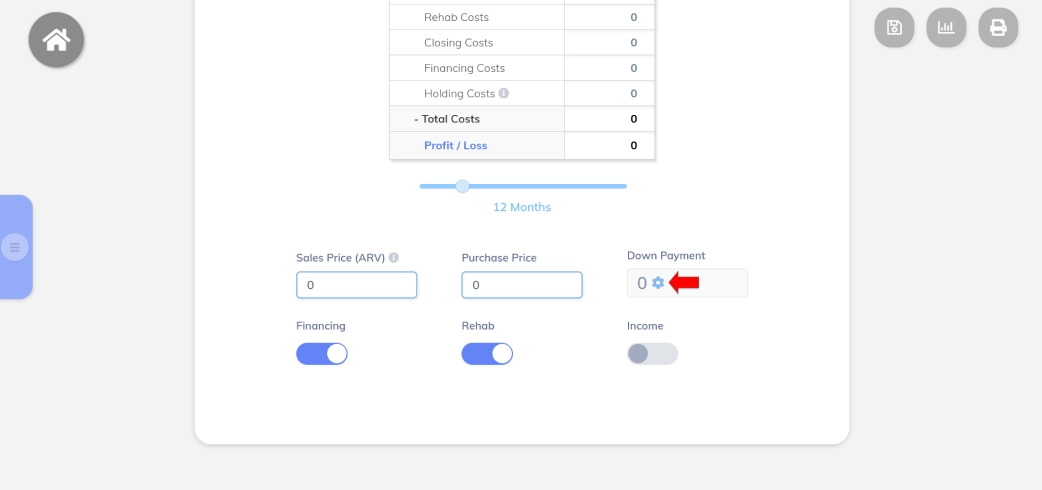
The next step is to enter what percentage of the deal the bank will finance and what percentage you will pay for out-of-pocket. Please note that if you run “Deal Setup” you can skip this step. To complete this step, click the cog wheel in the Down Payment box or it can also be accessed from the financing tab.
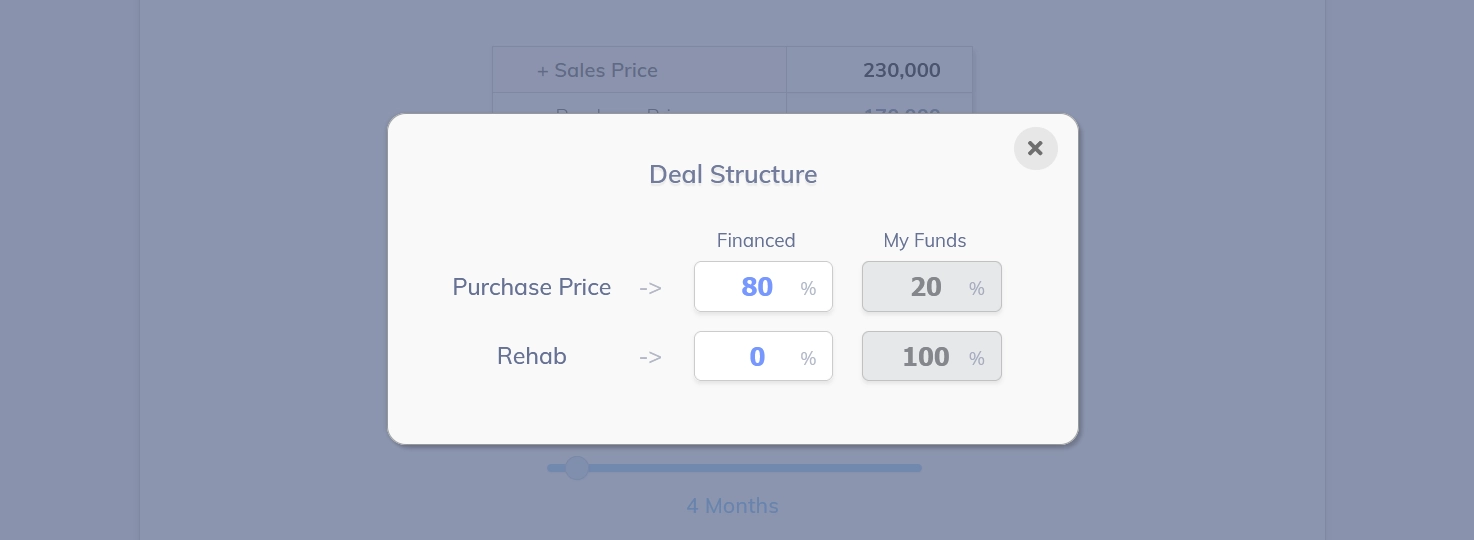
This step is very important. With our application, you do not enter a loan amount and down payment. The loan amount and down payment are calculated automatically based off what percentage of the purchase price you finance. Say for example, you purchase a house for $100,000. Many lenders require a minimum down payment of 20%. Subsequently, when you enter the “Amount to Finance” at 80%, the application will automatically calculate the loan amount at $80,000 and down payment at $20,000.
Step 3 – Entering a Basic Repair/Rehab Budget
The next step is to enter your repair budget. Enter the cost name and cost amount. Click “Add Row +” to add another expense line item.
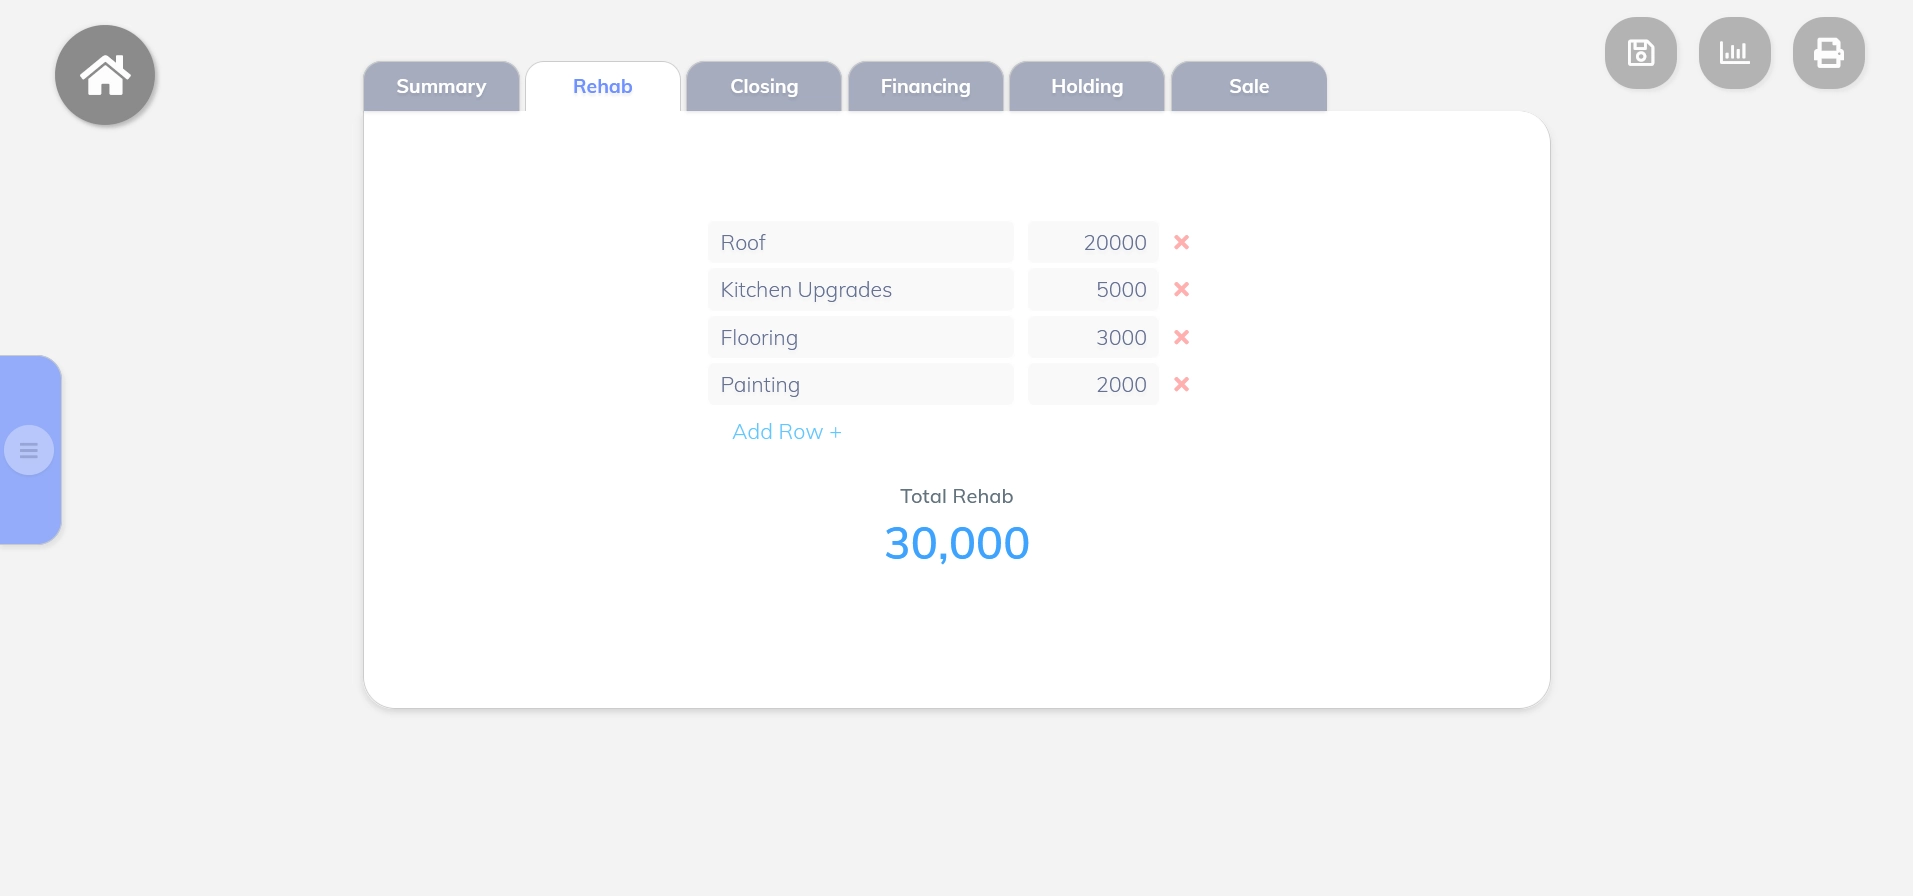
Please note that this is to add a “Basic” budget, which by default is linked to the Deal Analysis. To a create a grouped budget with more features such as budget vs actual, task tracking and additional features, this must be done in the “Project Module.” Click here to view instructions.
Step 4 – Entering the Closing Costs
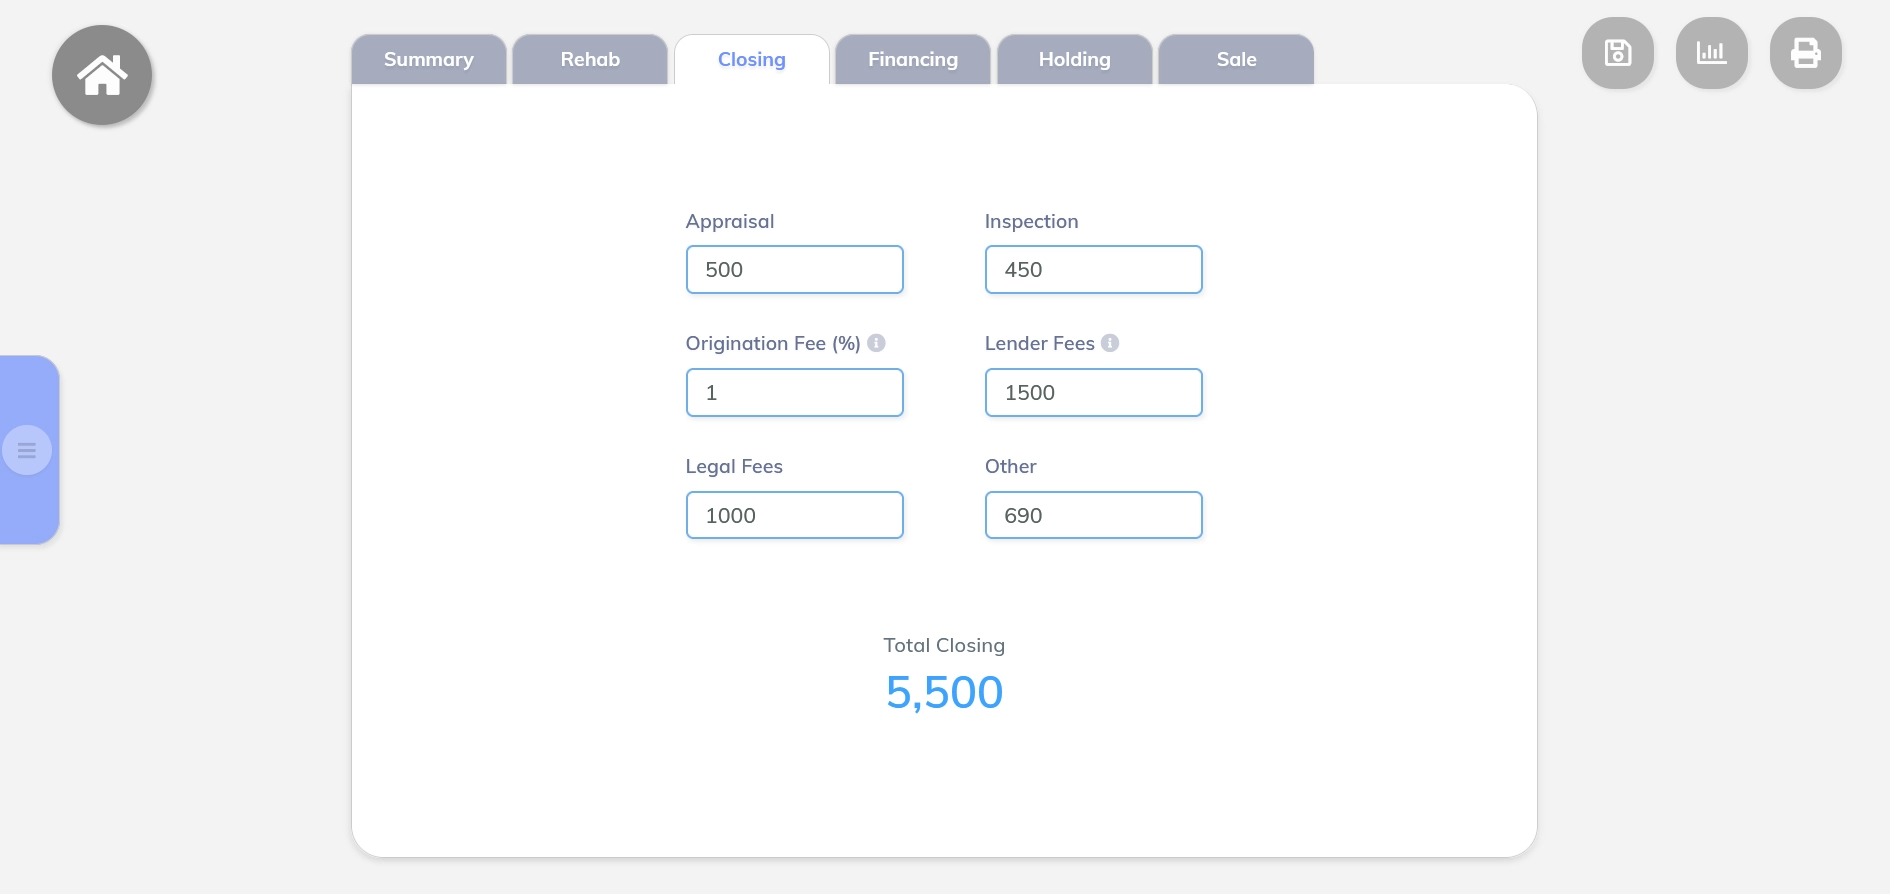
The next step is to enter all closing costs. Input the actual expense in each field except for the “Origination Fee” amount. For the Origination Fee, enter the percentage amount. For example, if your lender charges an origination fee of 1%, enter 1. The closing costs will calculate automatically.
Step 5 – Enter Financing Information
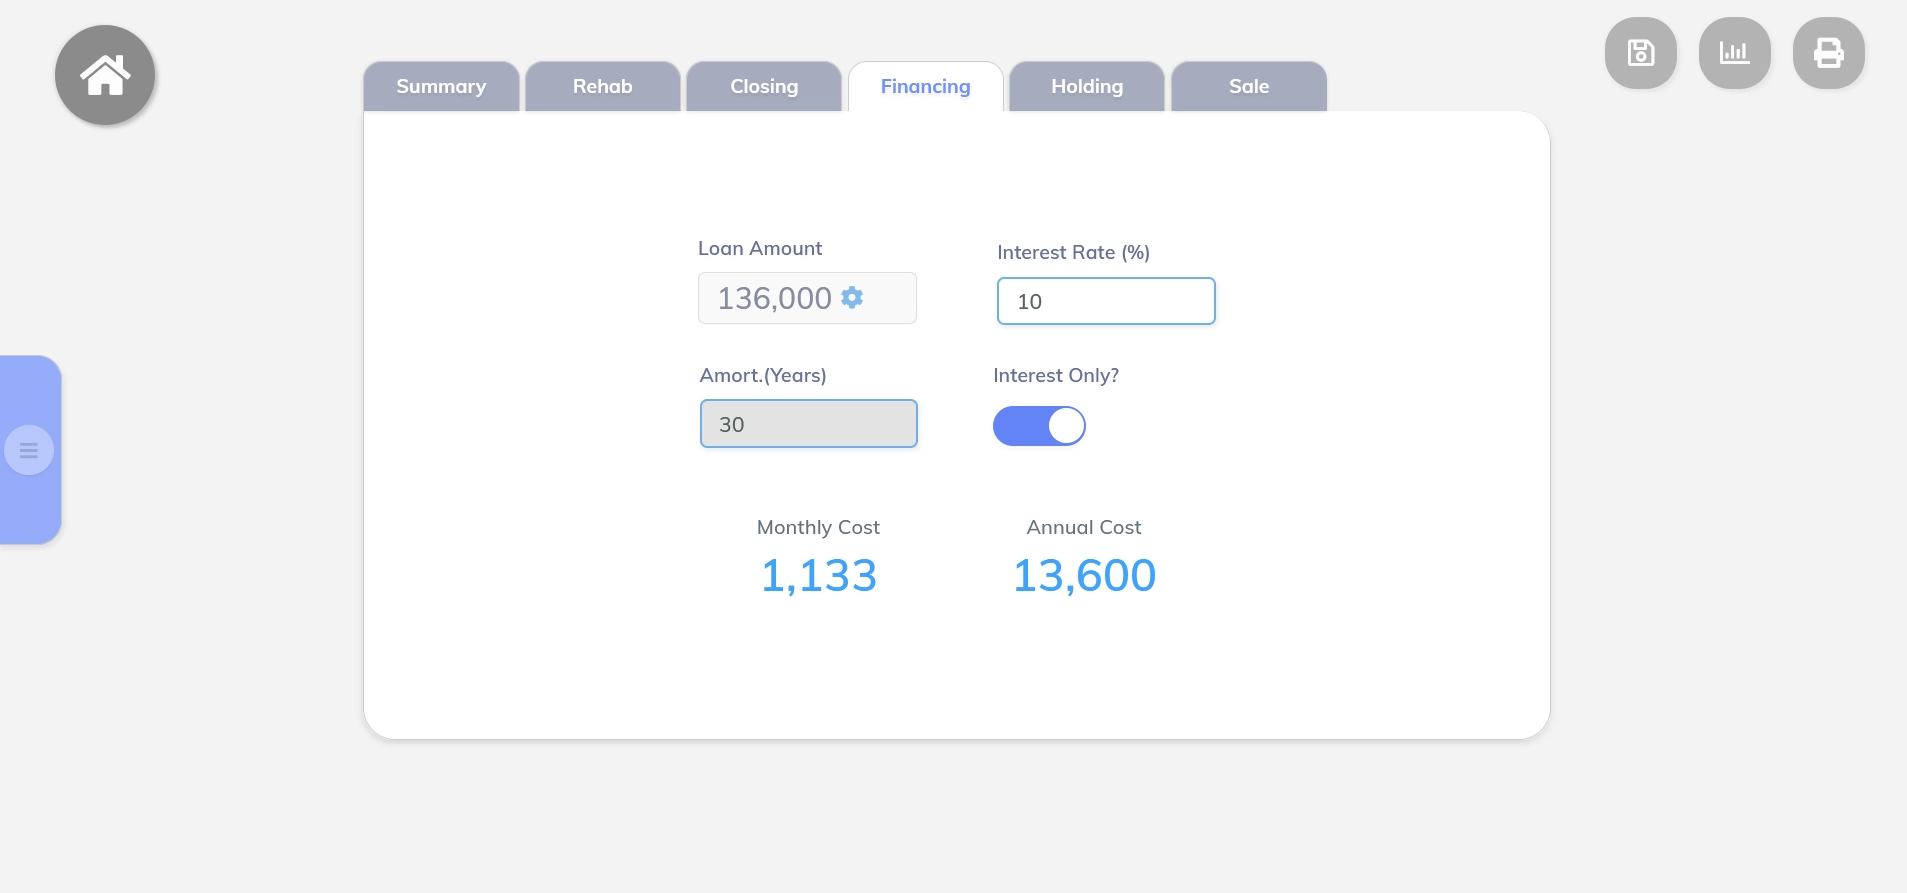
To complete the financing tab, enter the interest rate and select if the loan is interest only or includes principal payments. Most rehab loans are interest only, while loans for rental properties include principal. For loans that include principal, enter the amortization period. As previously noted in “Step 2”, select the cog wheel to adjust the amount financed, which will change the loan amount.
Step 6 – Enter Holding Costs
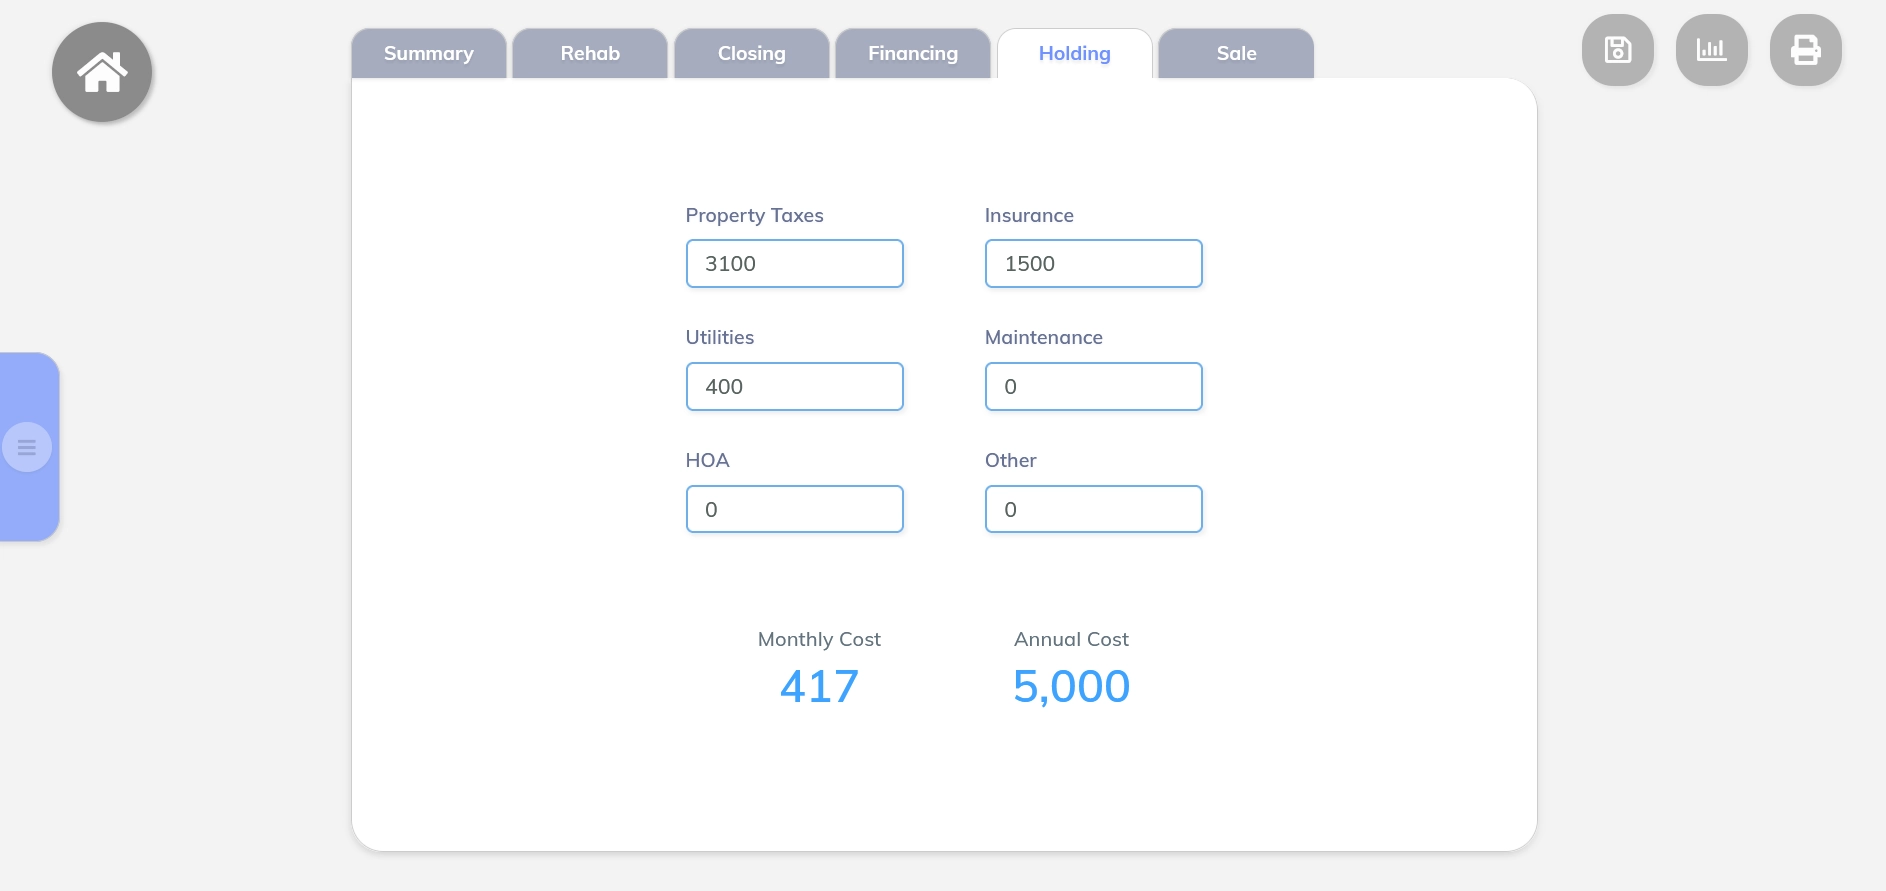
The next step is to enter all the holding costs associated with the property. You must enter the annual expense amount. These are required expenses such as property taxes, insurance and utilities. For a rental property, you should also estimate your annual maintenance amount.
Step 7 – Enter Selling Costs (Optional)
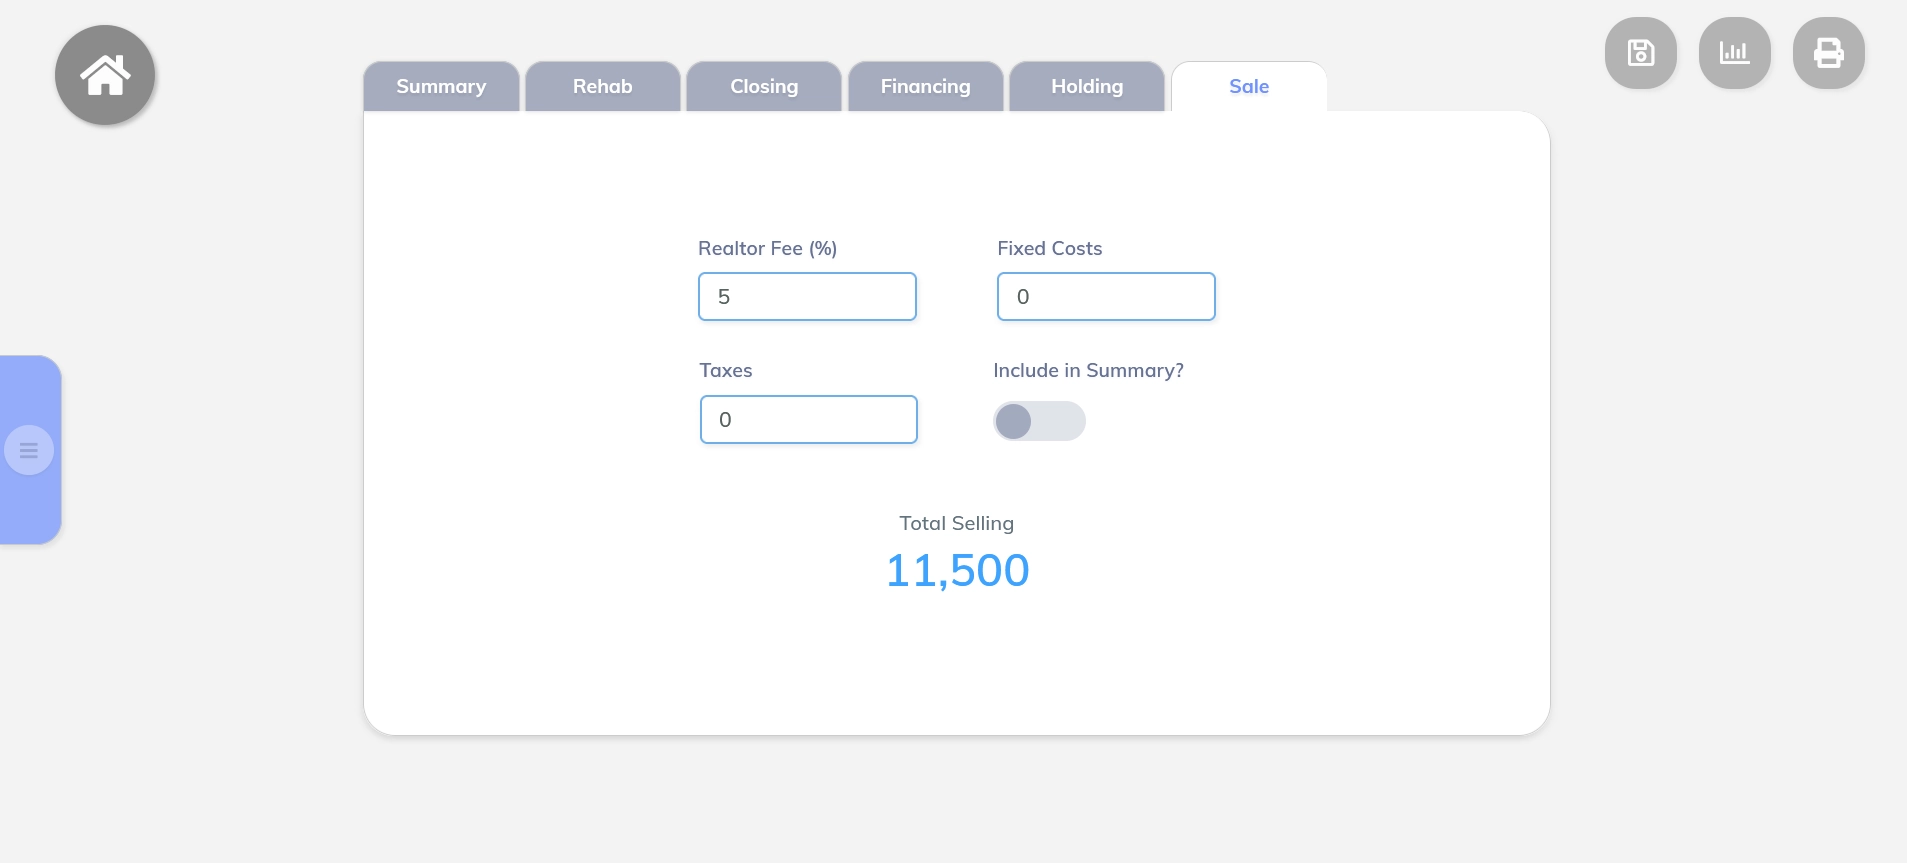
The next step is to enter the selling costs associated with the property. Enter the realtor commission percentage, the actual taxes you pay or other selling costs. By default, selling expenses are not included in the final calculations. To include selling expenses in the final calculations and ratios, be sure to click the “Include in Summary” switch.
Step 8 – Enter Income (Optional)
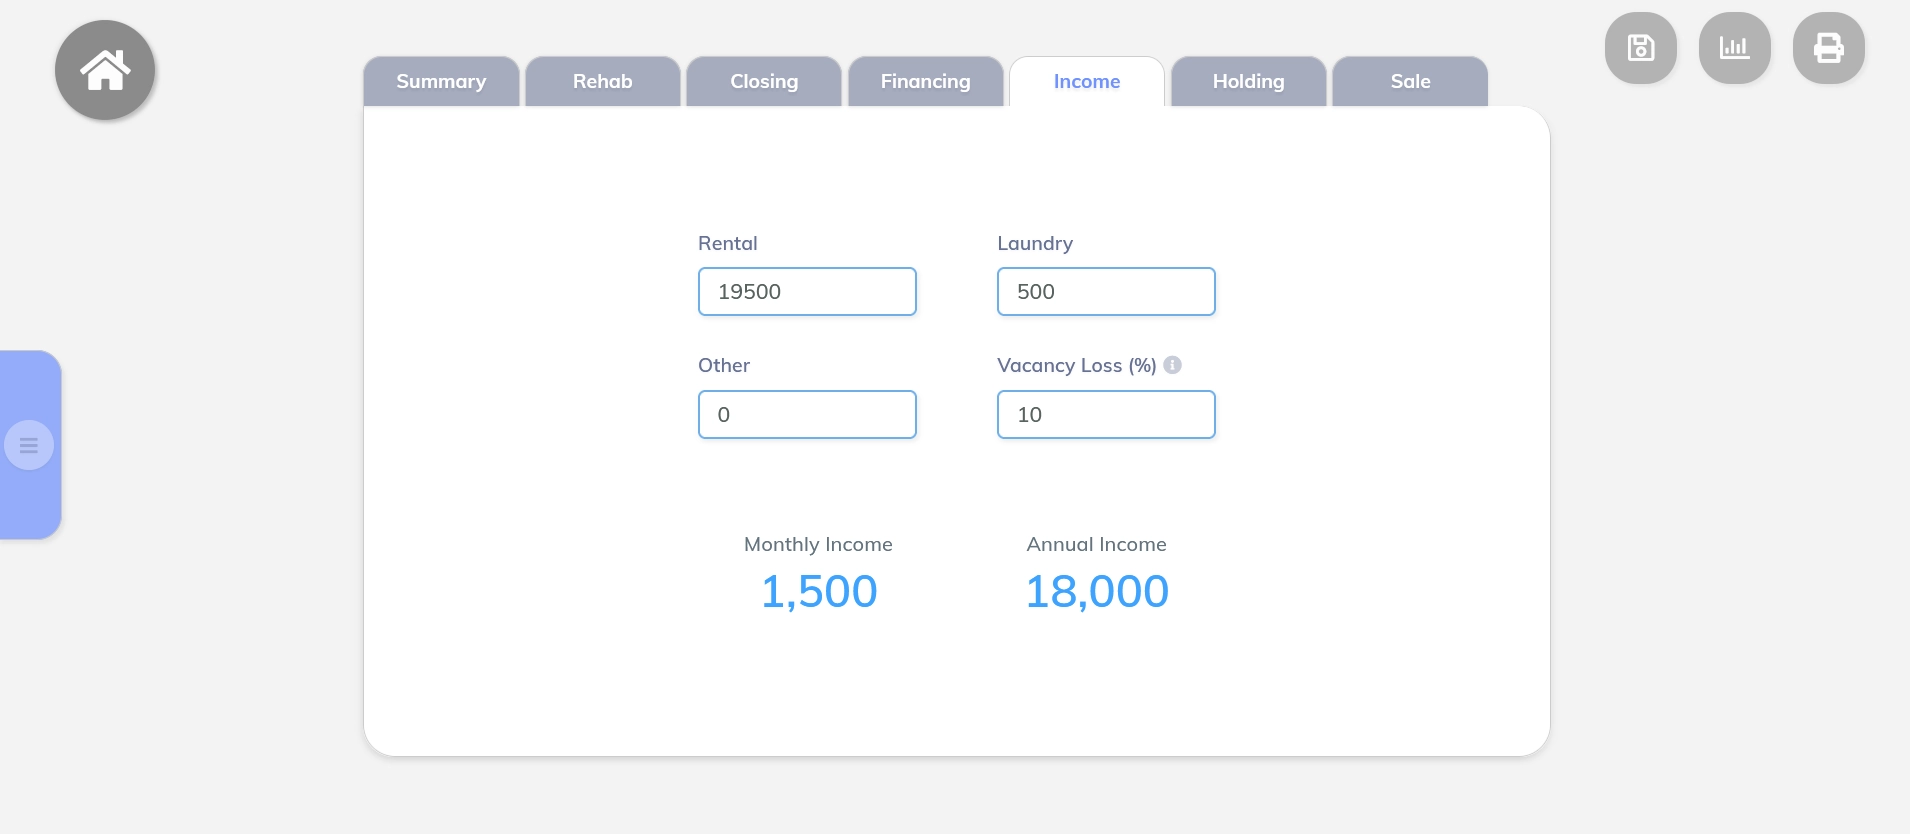
If you will be receiving income from the property, on the summary page, verify that the income switch is turned on. Enter the annual amount you anticipate on receiving in income for each category. If you estimate there to be rental vacancies, enter the vacancy percentage. The total income will be reduced by the percentage amount. If you receive $10,000 annually and have a vacancy loss of 10%, the annual income would by $9,000.
View Results
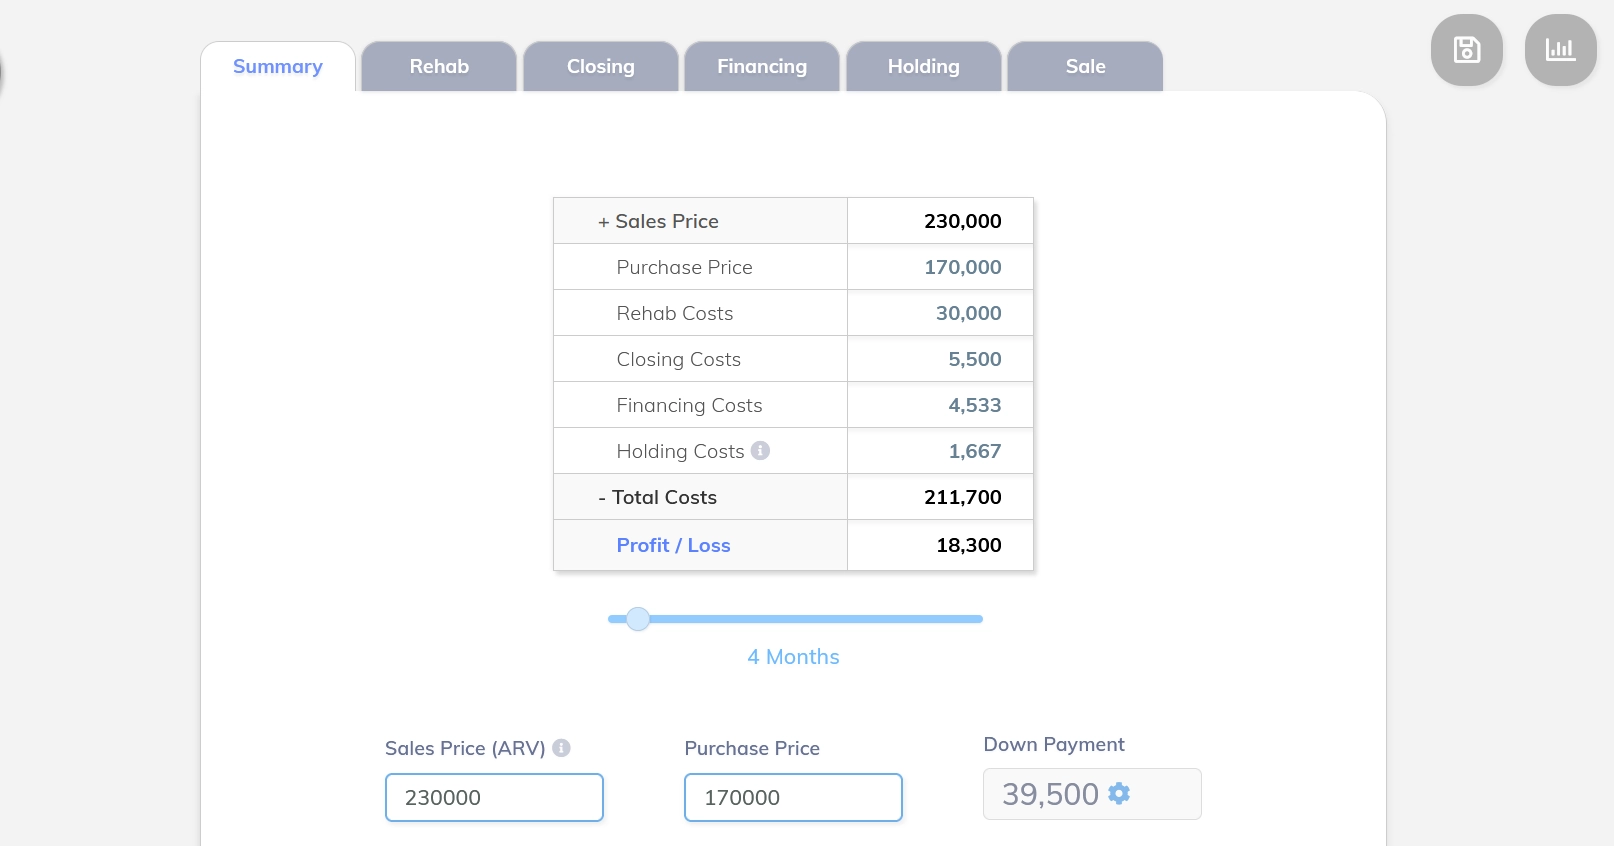
All of the required information for the deal analysis has now been entered. Click the summary tab to view the results. Use the slider to see how changes to your project timeline will impact the final numbers.
Deal Metrics
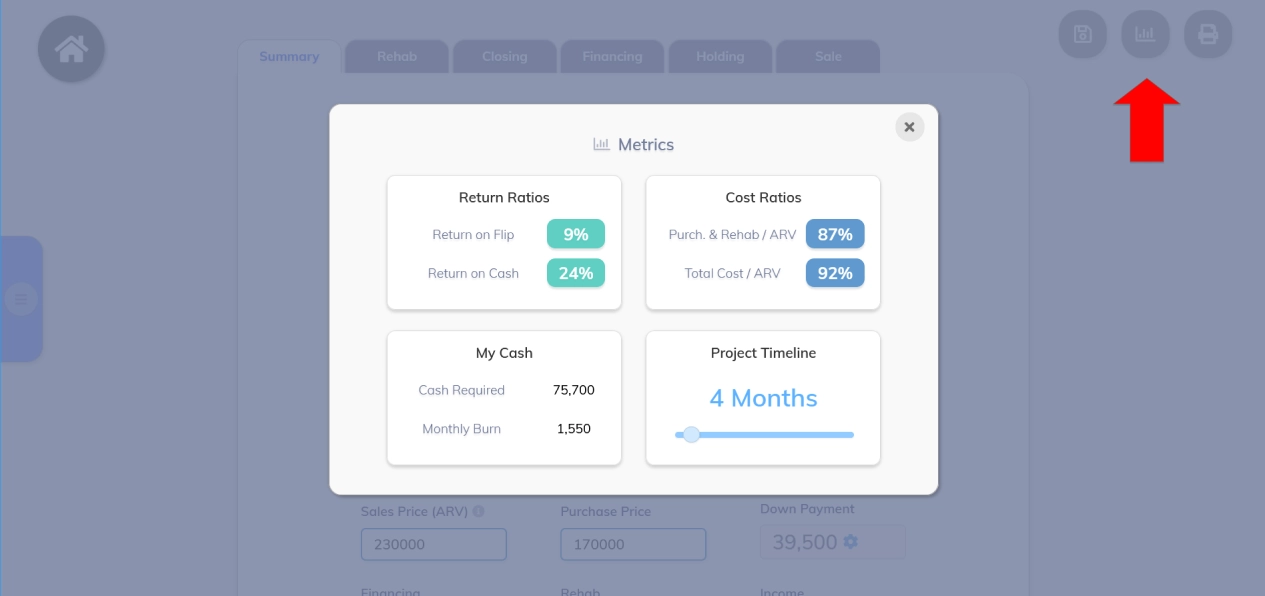
To view deal metrics, click the metrics icon in the top right. Here you can view financial ratios and see how the deal impacts your cash.
Deal Setup
At the start of every project, you will be presented with the “Deal Setup” option. The purpose of deal setup is to import a budget template, import the address, set the percentage of the deal to finance and further characterize the aspects of the deal.
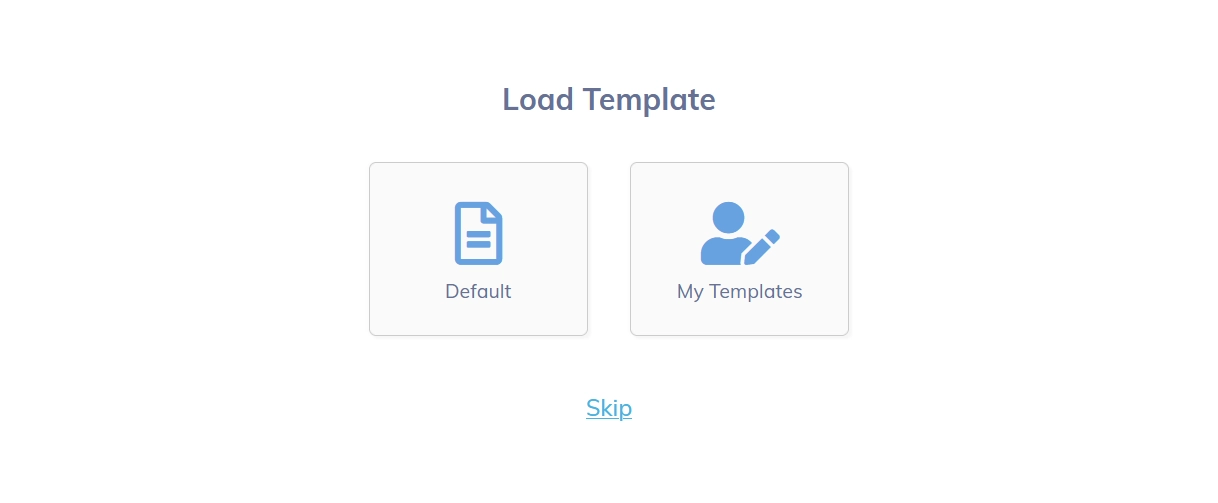
Step 1 – Load a Template
The first step is to load a budget template. It is only suggested you load a template for projects that use grouped budgets in the “Project Module.” Select “Default” to load one of the 3 templates provided by Listconn. Select “My Templates” to load a template that you created.
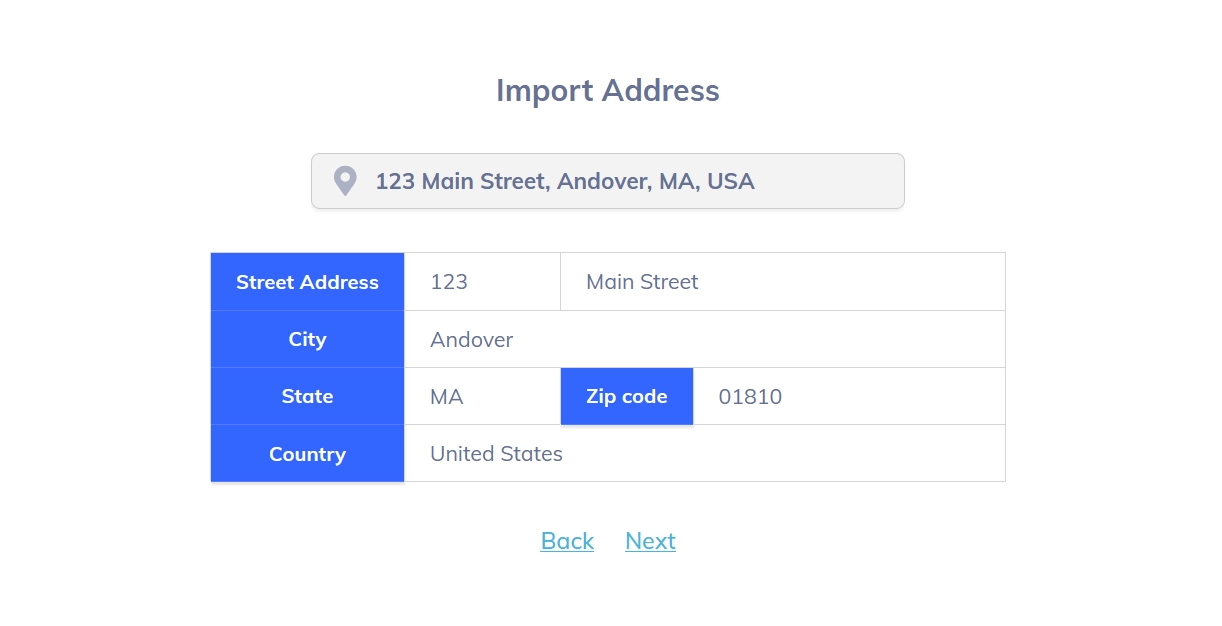
Step 2 – Import an Address
Addresses are auto populated. Simply start typing the address in the gray bar and the once you select the address from the dropdown the address will be entered automatically in the fields. In the scenario that the address is not listed, simply select “Next” and you can edit the address later in the “Overview” Module.
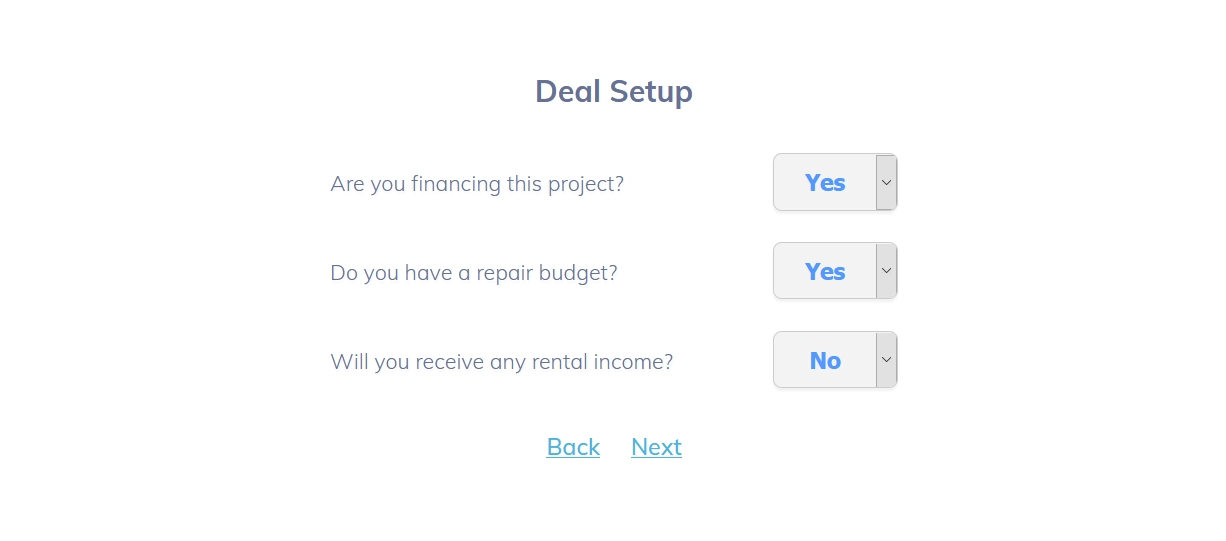
Step 3 – Answer the Questions
Answer the questions pertaining to the structure of the deal. You must also enter the amount of the purchase price that is financed and the amount of repairs that are financed. Be sure this information is accurate as many of the calculations and ratios will be based off these amounts. If your not quite of the exact numbers, they can be edited later.
Modules
Previously in this tutuorial we have covered everything related to “Deal Analysis,” but there are three other modules that are provided to assist investors save property data, build budgets and save property photos.
Overview Module
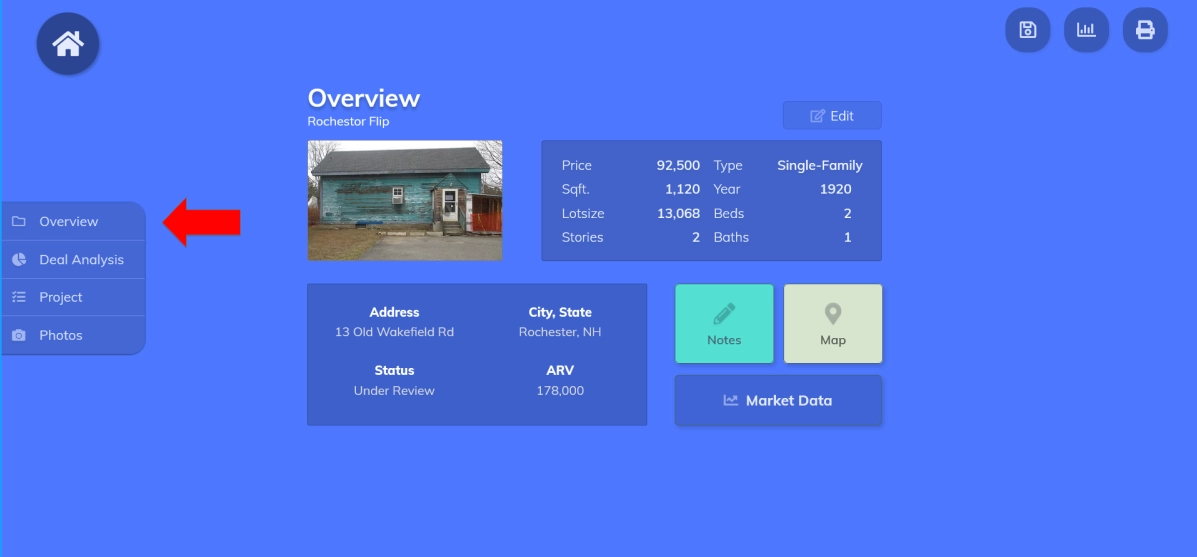
The first module is the overview module. This is where all the property data is listed. The address and property details can be edited. The property status and the ARV is imported from Deal Analysis. Investors can also make notes about the property, view the property on a map and get information from the Census about the area in which you are investing.
Project Module
The project module is where you can create a grouped budget.
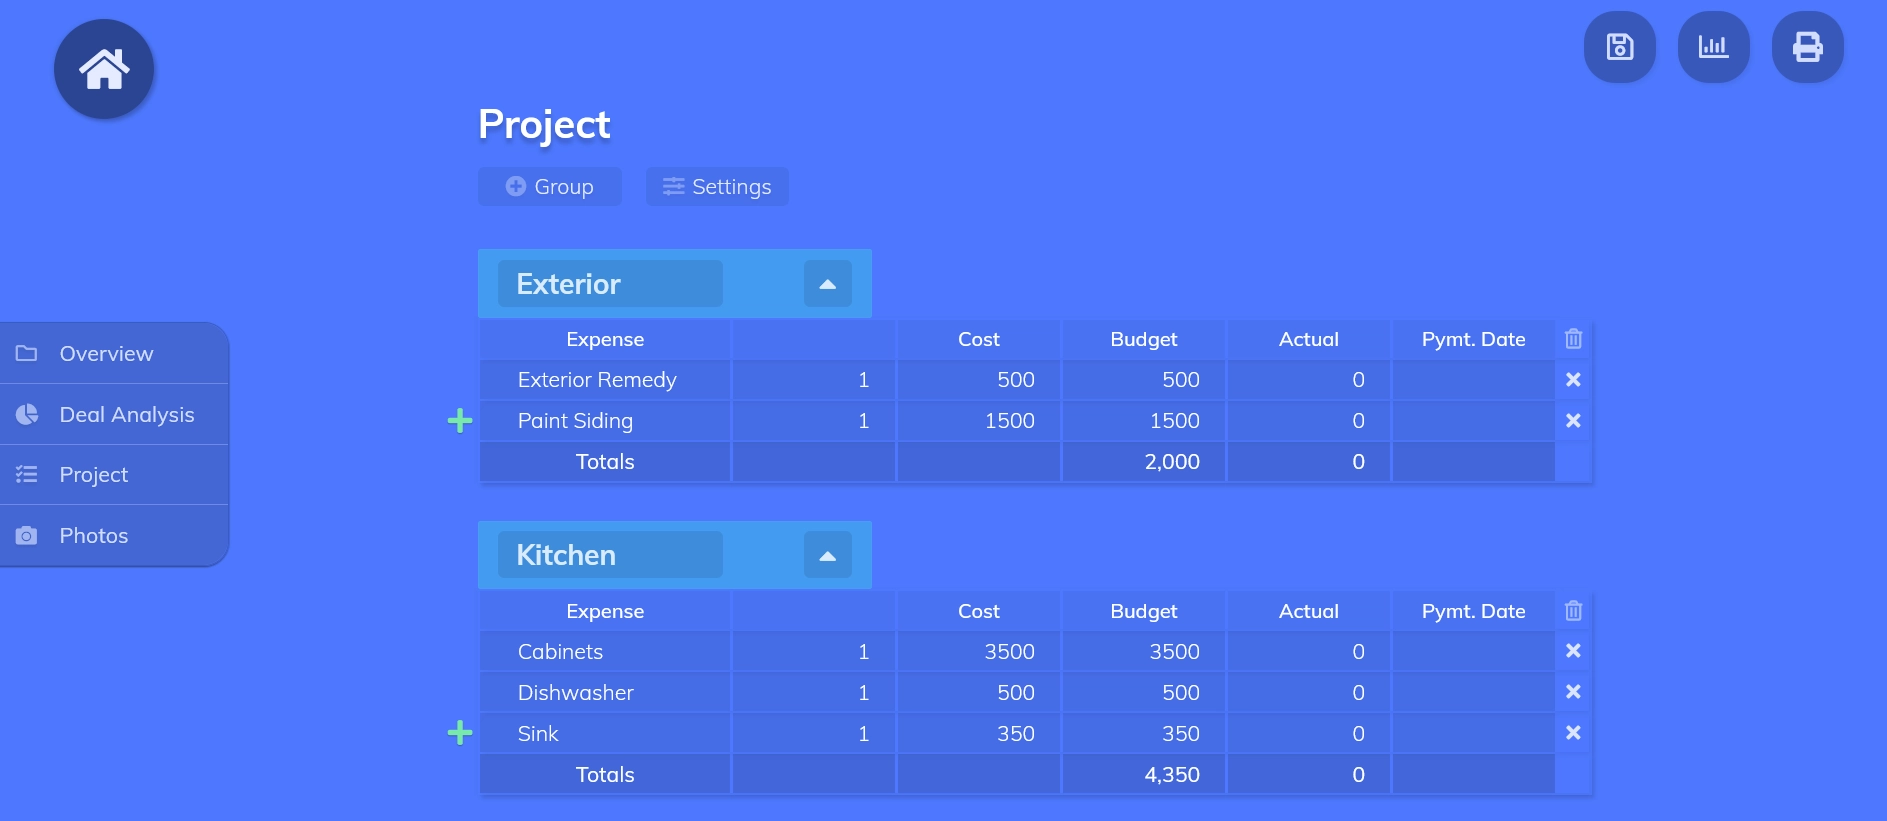
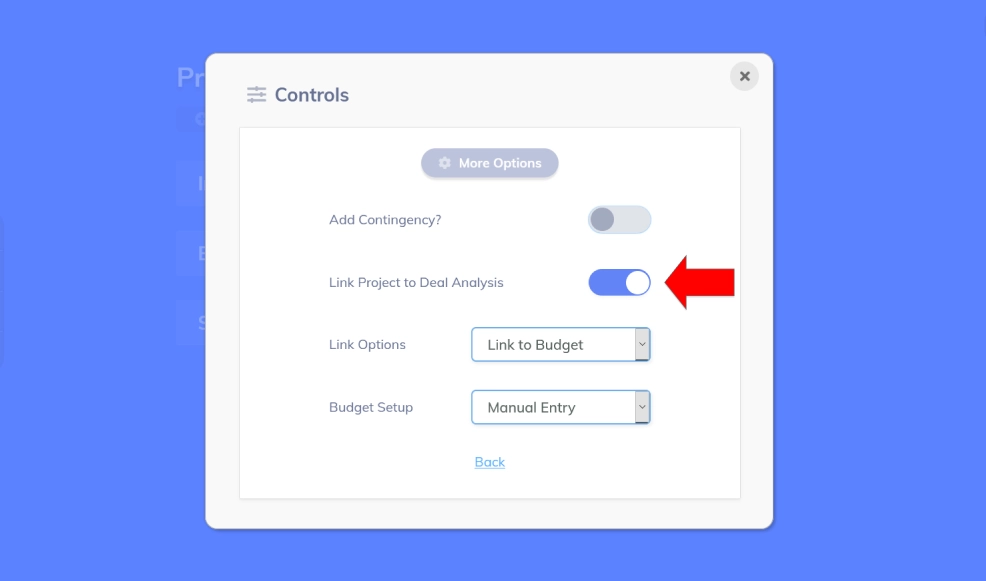
Please note, if you wish to link the project to deal analysis and replace the “simple budget” in the rehab folder in deal analysis, you must select:
Settings -> More Options -> Link Project to Deal Analysis